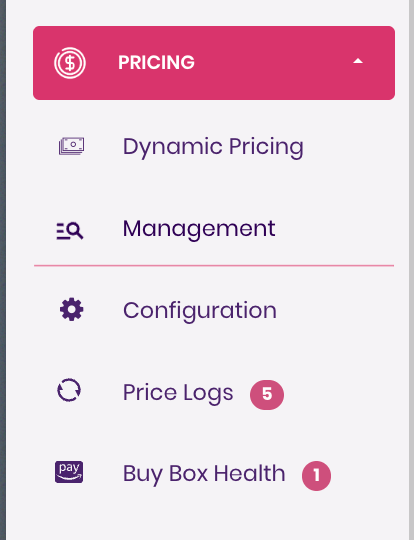
Step 1: Open the Pricing Plan Management Area
- Navigate to the Pricing Tool dropdown in the Trellis navigation bar.
- Select Management — this is where all pricing plans are created, edited, and monitored
Step 2: Select a Product Category
Inside the Management tab, you’ll see a list of all your product categories.
Click into the category where you want to create a pricing plan.

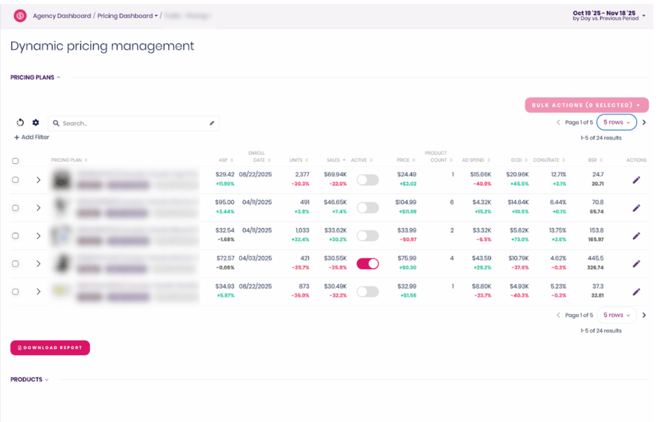
Step 3: Review Pricing Plans & Product Enrollment
When you open a category, you’ll see two dropdowns:
Pricing Plans
Showsall pricing plans for this category — both active and inactive.
Products
Displays all products in the category, organized into:
- Not Enrolled – products not currently in any pricing plan
- Enrolled – products in active pricing plans
- Paused Plans – products in paused pricing plans
You’ll enroll new products into pricing plans from this section.
Step 4: Select Products to Enroll
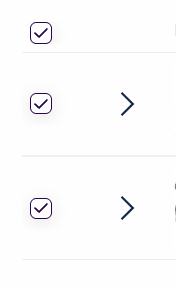
Under the Not Enrolled tab:
- Check the box beside each product you want to include in a pricing plan.
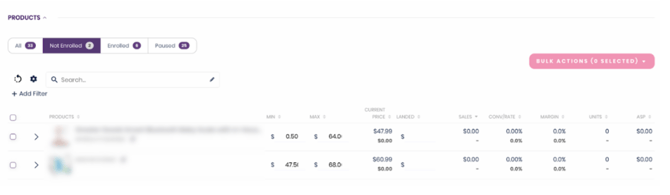
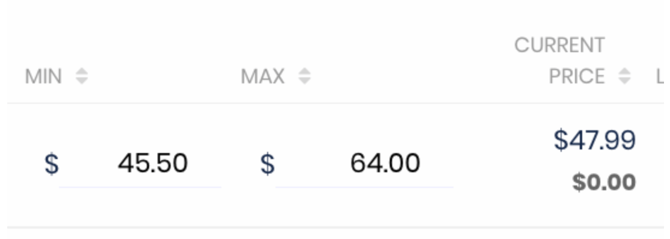
Step 5: Set Min and Max Prices
For each selected product, adjust the minimum and maximum price that the new pricing plan will inherit.
After making changes, click Save Changes to apply them.

Step 6: Add Products to a Pricing Plan
Click Bulk Actions and choose one of the following:
- Add to Existing Pricing Plan
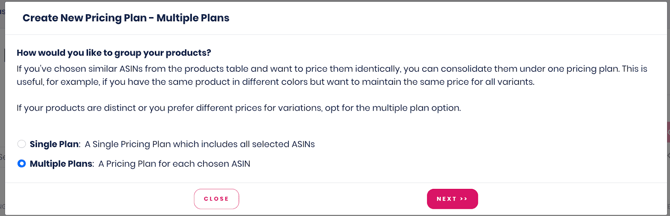
- Create New Pricing Plan

If multiple products are selected when creating a new plan, you’ll be prompted to choose:
- One pricing plan for all selected products, or
- One pricing plan per product
Important:
Pricing behavior is controlled at the plan level, meaning:
- If products must have different prices, they must be in separate plans.
- If variations of the same product need different prices but must maintain a consistent difference, you may:
- Place them in separate plans with a relationship or
- Place them in one plan and use Price Offsets to maintain the price gap automatically.
- Place them in separate plans with a relationship or
Step 7: Configure the Pricing Plan
After clicking Next, you’ll configure the plan’s settings.
Key attributes include:
- Min & Max Price
- Pricing Strategy (e.g., Volume-focused → Margin-focused spectrum)
Make sure to review each pricing strategy to understand when it is most effective.
Additional configuration options are also available in this section.
When finished, click Preview Enrollment.
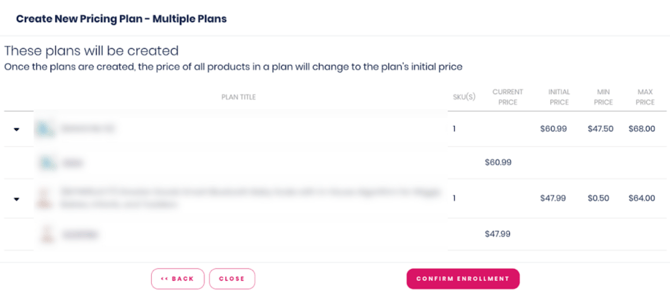
Review & Confirm
The Preview Enrollment screen shows:
- The pricing plan(s) being created
- All SKUs included
- Current price per SKU
- The plan’s min and max pricing boundaries
If everything looks correct, click Confirm Enrollment.
Your new pricing plan will now be active.